
How to Grow and Harvest Microgreens at Home: The Complete Beginner’s Guide
Growing your own microgreens at home is one of the easiest, healthiest, and most affordable gardening projects you can start today. These tiny vegetables are packed with vitamins, antioxidants, minerals, and flavor while taking only 7 to 12 days from seed to harvest.
Whether you want to improve your family’s nutrition, save money on groceries, or even start a small business selling fresh microgreens, this complete guide will teach you everything you need to know.
Quick Fact: Store-bought microgreens often cost $4–$8 per small container, while growing them at home can reduce the cost to just a few cents per serving.
Table of Contents
- What Are Microgreens?
- Health Benefits of Microgreens
- Supplies You’ll Need
- Best Microgreens for Beginners
- Step-by-Step Growing Guide
- Lighting and Watering Tips
- Common Problems and Solutions
- How to Harvest Microgreens
- Storage Tips
- Delicious Ways to Eat Microgreens
- Can You Make Money Growing Microgreens?
- Frequently Asked Questions
- Final Thoughts
What Are Microgreens?
Microgreens are young vegetable and herb plants harvested shortly after germination, usually when they develop their first true leaves.
They grow after sprouts but before baby greens, making them the perfect balance between nutrition, flavor, and convenience.
Unlike sprouts:
- Sprouts grow only in water.
- Microgreens grow in soil or another growing medium.
- Only the stem and leaves are eaten.
- They have stronger flavors and higher nutrient density.
Popular varieties include:
- Broccoli
- Radish
- Sunflower
- Pea Shoots
- Kale
- Arugula
- Cilantro
- Basil
- Mustard
- Amaranth
Why Should You Grow Microgreens?
Research has shown that many microgreens contain significantly higher concentrations of vitamins and antioxidants than their mature counterparts.
Benefits include:
- Rich in Vitamin C
- High in Vitamin K
- Excellent source of antioxidants
- Supports immune health
- May reduce inflammation
- Easy to digest
- Ready in under two weeks
- Requires very little growing space
Essential Supplies for Growing Microgreens
You don’t need a garden or greenhouse. A kitchen shelf or countertop with proper lighting works perfectly.
1. Growing Tray
A shallow tray allows dense planting.
Recommended Amazon Product
2-Pack Seed Sprouter Tray with Humidity Lid
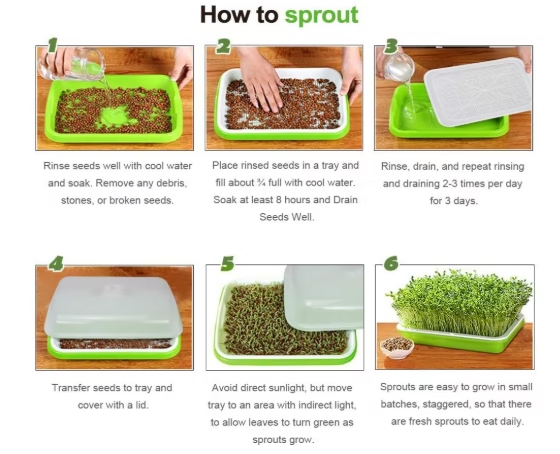
Benefits:
- BPA-free
- Reusable
- Large growing area
- Humidity dome included
- Perfect for beginners
2. Sprouting Mason Jar Kit
Perfect for growing sprouts before moving into microgreens.
Recommended Amazon Product
Seed Sprouting Kit – 2 Large Wide Mouth Mason Jars
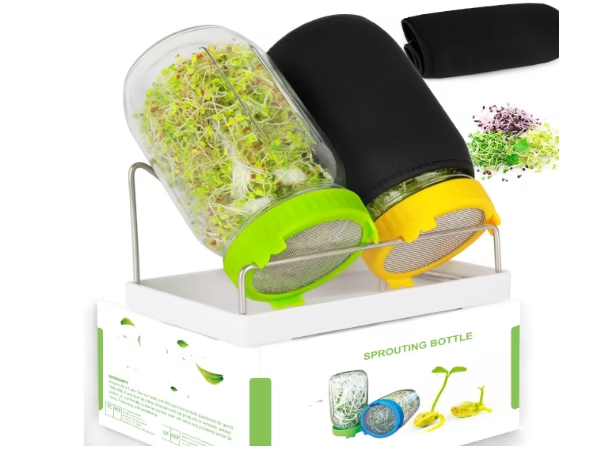
Features
- Stainless steel stand
- Drain tray
- Blackout sleeves
- Sprouting lids included
3. Organic Seeds
Always choose high-germination, untreated seeds.
Best for Beginners
Organic Radish Seeds
Food to Live Organic Radish Seeds
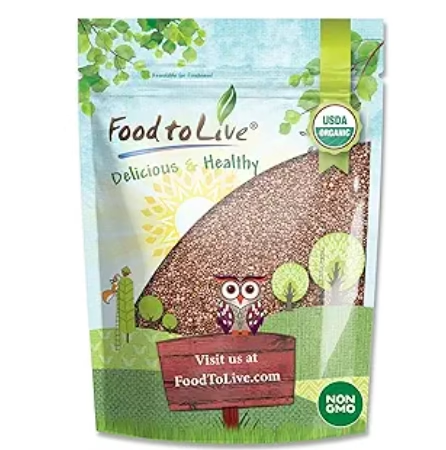
Benefits
- Organic
- Non-GMO
- Excellent germination
- Fast growth
- Harvest in 6–8 days
Broccoli Seeds
HOME GROWN Broccoli Seeds
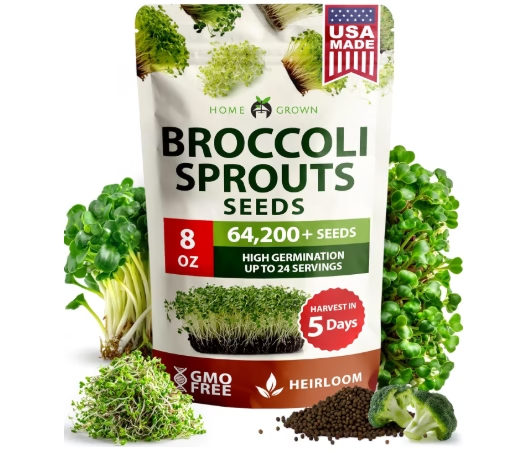
Benefits
- High Sulforaphane
- Non-GMO
- Excellent for beginners
- High germination rate
4. Growing Medium
Choose one:
- Organic potting mix
- Coco coir
- Hemp mat
- Stainless steel mesh
- Silicone growing mats
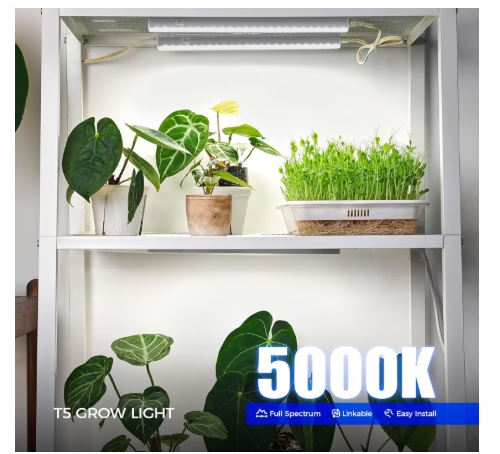
5. LED Grow Lights
Microgreens require around:
- 12–18 hours of light daily
LED shop lights are inexpensive and produce compact, healthy plants.
Step 1: Prepare Your Growing Tray
Fill your tray with moist soil.
Leave approximately ½ to 1 inch below the rim.
This makes harvesting much easier.
Level the surface without compacting the soil too much.
Step 2: Sow the Seeds
Spread seeds evenly.
Avoid overcrowding.
Seed Soaking Guide
| Seed | Soak Time |
|---|---|
| Peas | 6–12 hours |
| Sunflower | 4 hours |
| Radish | No soaking |
| Broccoli | No soaking |
| Kale | No soaking |
Mist lightly with water.
Step 3: The Blackout Phase
Cover the tray using:
- Another tray
- Humidity dome
- Blackout cover
Add a light weight such as:
- Brick
- Stone
- Book
Leave covered for:
3–4 days
This encourages:
- Strong roots
- Even germination
- Thick stems
Don’t worry if seedlings appear yellow.
Once exposed to light, chlorophyll develops quickly.
Step 4: Provide Proper Lighting
Move trays beneath LED lights.
Keep lights:
- 2–4 inches above plants
Lighting schedule:
12–18 hours daily
Without enough light, microgreens become:
- Tall
- Weak
- Leggy
Step 5: Bottom Water Correctly
Bottom watering is the secret to healthy microgreens.
Instead of watering from above:
- Pour water into the bottom tray.
- Let soil absorb moisture naturally.
- Remove excess water after 15–20 minutes.
Benefits include:
- Prevents mold
- Reduces fungus
- Stronger roots
- Cleaner leaves
Common Growing Problems
Mold
Symptoms
- White fuzzy growth
Solutions
- Improve airflow
- Use a small fan
- Water less
- Bottom water only
Damping Off
Symptoms
Seedlings suddenly collapse.
Cause
Too much moisture.
Solution
Avoid overwatering and improve ventilation.
Uneven Germination
Possible causes:
- Uneven seed distribution
- Poor lighting
- Light entering during blackout
- Dry soil
When to Harvest Microgreens
Harvest when plants are:
- 2–4 inches tall
- First true leaves appear
Use:
- Sharp scissors
- Garden snips
- Clean knife
Cut just above the soil surface.
Never pull them out by the roots.
How to Store Microgreens
Proper storage dramatically increases freshness.
Best Storage Method
- Do NOT wash immediately.
- Dry completely.
- Store in airtight containers.
- Refrigerate immediately.
Freshness:
5–7 days
Wash only before eating.
Delicious Ways to Eat Microgreens
Microgreens work in almost every meal.
Ideas include:
- Smoothies
- Salads
- Sandwiches
- Burgers
- Pizza
- Soups
- Omelets
- Pasta
- Rice bowls
- Tacos
Pea shoots taste amazing sautéed with:
- Garlic
- Sesame oil
- Soy sauce
Cook for about 90 seconds.
Can You Start a Microgreens Business?
Yes.
Microgreens have excellent profit margins because they:
- Grow quickly
- Require little space
- Need minimal investment
- Sell at premium prices
Potential customers include:
Restaurants
Chefs love:
- Basil
- Cilantro
- Amaranth
- Purple radish
- Pea shoots
Farmers Markets
Fresh local produce sells well.
Offer:
- Weekly harvests
- Mixed salad packs
- Live trays
Subscription Boxes
Deliver fresh microgreens weekly.
Customers appreciate:
- Consistency
- Freshness
- Local production
Bonus Nutrition Option
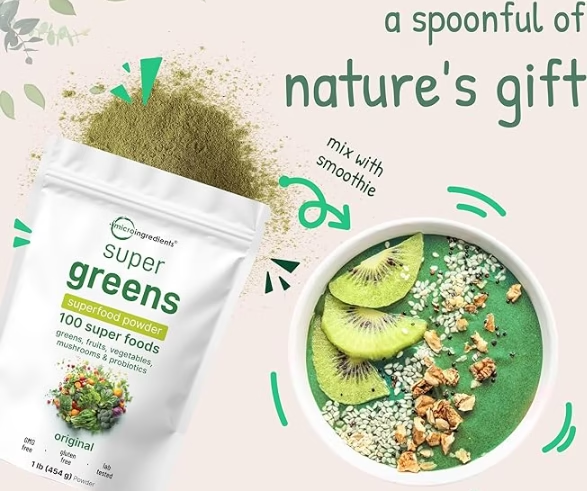
If you’re unable to grow fresh greens every week, a high-quality greens powder can help supplement your daily vegetable intake.
Recommended Amazon Product
Micro Ingredients Super Greens Powder (1 lb)
Highlights
- 100+ superfoods
- Vegan
- Non-GMO
- Probiotics
- Fruits & vegetables
- Mushroom blend
- No additives
Note: A greens powder is not a replacement for fresh vegetables or microgreens but can be a convenient supplement.
Frequently Asked Questions
How long do microgreens take to grow?
Most varieties are ready within 7–12 days, while slower-growing herbs may take up to 21 days.
Which microgreens are easiest for beginners?
The easiest options include:
- Radish
- Broccoli
- Pea shoots
- Kale
- Mustard
Do microgreens need sunlight?
Natural sunlight works, but LED grow lights provide more consistent results indoors.
Can I reuse the soil?
It’s generally recommended to use fresh growing medium for each crop to reduce the risk of pests and disease. Used soil can be added to a compost pile.
Are microgreens healthier than mature vegetables?
Many microgreens contain higher concentrations of certain vitamins and antioxidants than their mature versions, though both are nutritious and valuable parts of a healthy diet.
Final Thoughts
Growing microgreens at home is one of the simplest ways to enjoy fresh, nutrient-rich food year-round. With only a small tray, quality seeds, adequate lighting, and proper watering, you can harvest flavorful greens in less than two weeks. Whether your goal is to improve your diet, reduce grocery costs, or build a small local business, microgreens offer an accessible and rewarding starting point.
External Authority Links (Recommended for SEO)
Include these authoritative resources as external references in your article:
- United States Department of Agriculture (USDA) – https://www.usda.gov/
- National Center for Biotechnology Information (NCBI) – https://www.ncbi.nlm.nih.gov/
- Harvard T.H. Chan School of Public Health – https://www.hsph.harvard.edu/
- Centers for Disease Control and Prevention (CDC) – Food Safety – https://www.cdc.gov/food-safety/
- University Extension Programs (e.g., Penn State Extension) – https://extension.psu.edu/